-40%
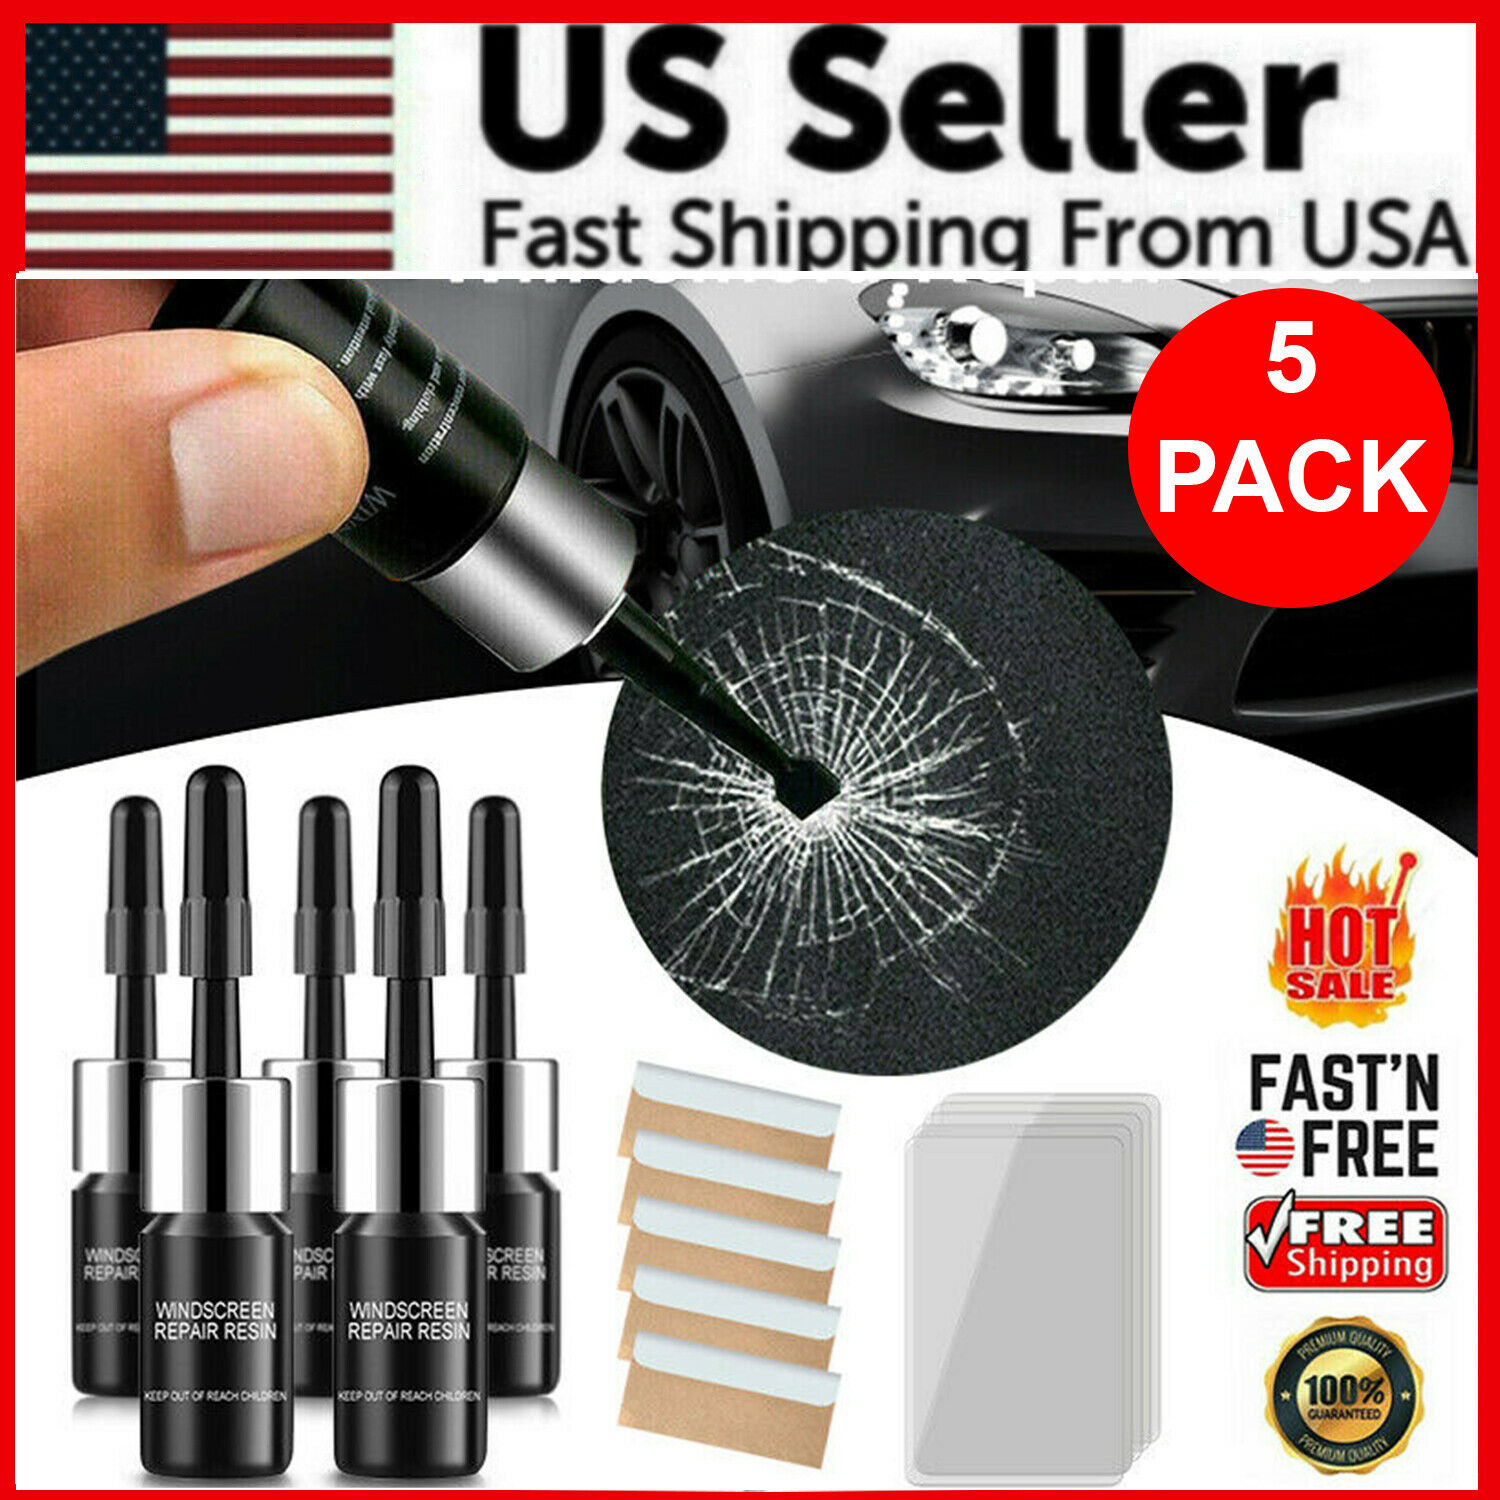
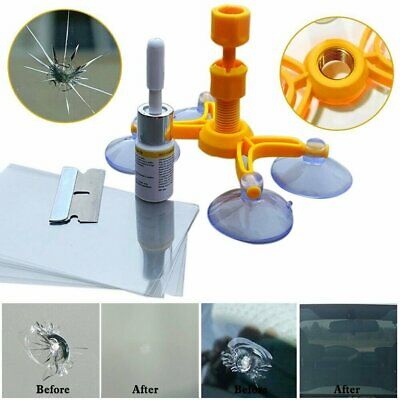
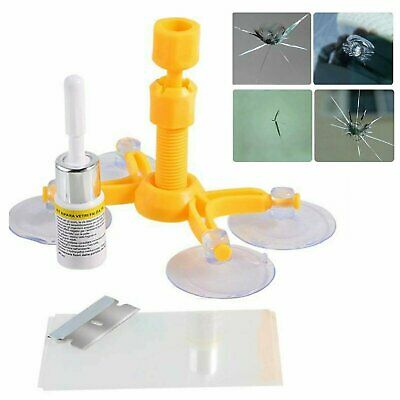
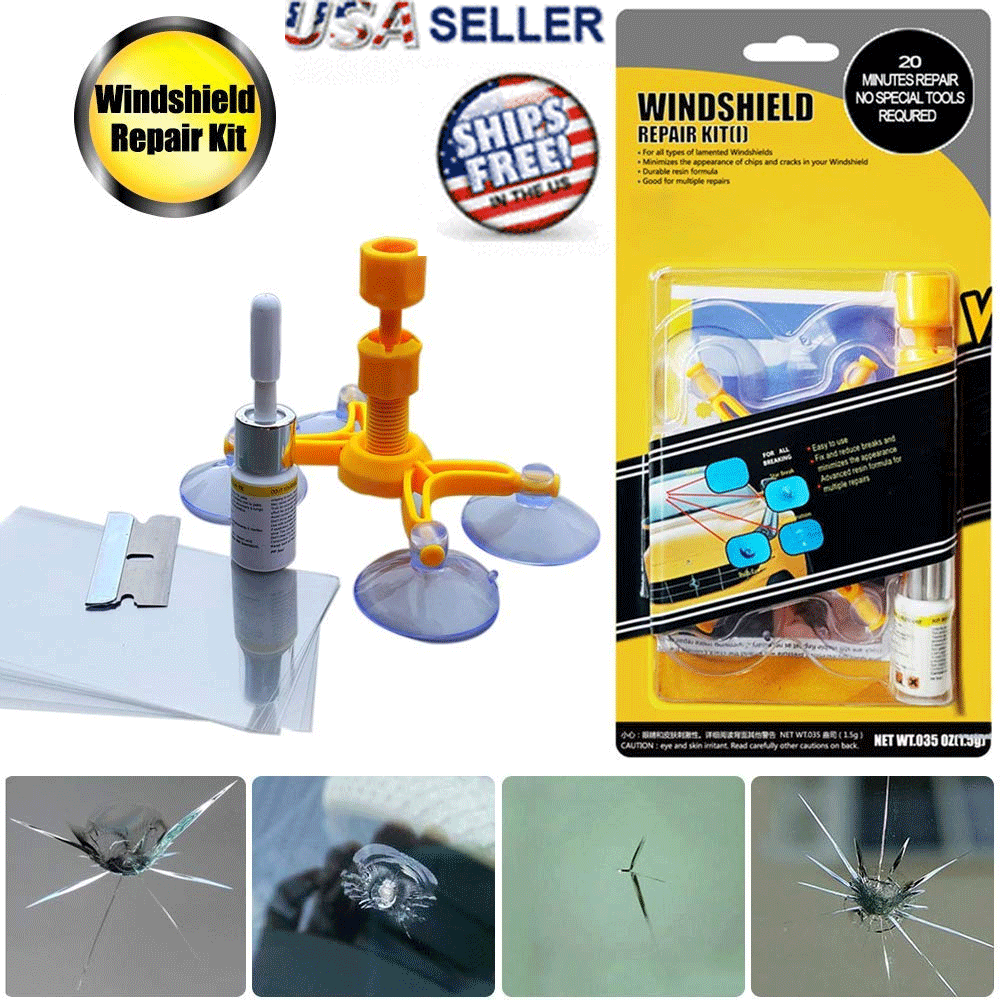
Automotive Glass Nano Repair Fluid Car Window Glass Crack Chip Repair Tool Kit
$ 4.21
- Description
- Size Guide
Description
Fast Repair - The windshield repair kit can quickly and easily repair small cracks chips only in 20-30 minutes. prevents damage from spreading Restores windshield to near new condition. Long-lasting maintenance effect.Easy to Operate - Windshield chip repair kit is easy to use, first, Clean and dry the windshield glass surface and then squeeze the resin into the cracks. then put on the cured film , then quickly dry and solidify under ultraviolet light 5-10 mins. It is to scrap+e off the residual resin with a spatula.Prefect design - Professional quality Do-It-Yourself repair windshield cracks/chips. designed with a reinforced injection sealant dispensing head, Advanced resin formula, can produce a strong pressure. and it have vacuum function to quickly remov...Automotive Glass Nano Repair Fluid Car Window Glass Crack Chip Repair Tool Kit
Fast Repair - The windshield repair kit can quickly and easily repair small cracks chips only in 20-30 minutes. prevents damage from spreading Restores windshield to near new condition. Long-lasting maintenance effect.
Easy to Operate - Windshield chip repair kit is easy to use, first, Clean and dry the windshield glass surface and then squeeze the resin into the cracks. then put on the cured film , then quickly dry and solidify under ultraviolet light 5-10 mins. It is to scrap+e off the residual resin with a spatula.
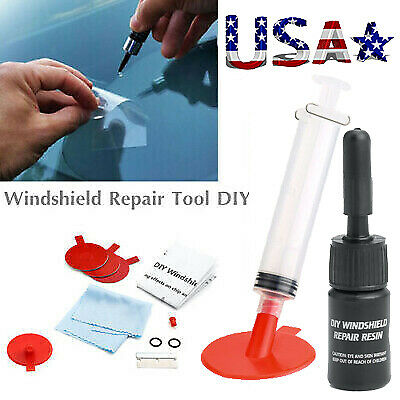
Prefect design - Professional quality Do-It-Yourself repair windshield cracks/chips. designed with a reinforced injection sealant dispensing head, Advanced resin formula, can produce a strong pressure. and it have vacuum function to quickly remove air from the crack. can helps you minimize the appearance to achieve better repair effects.
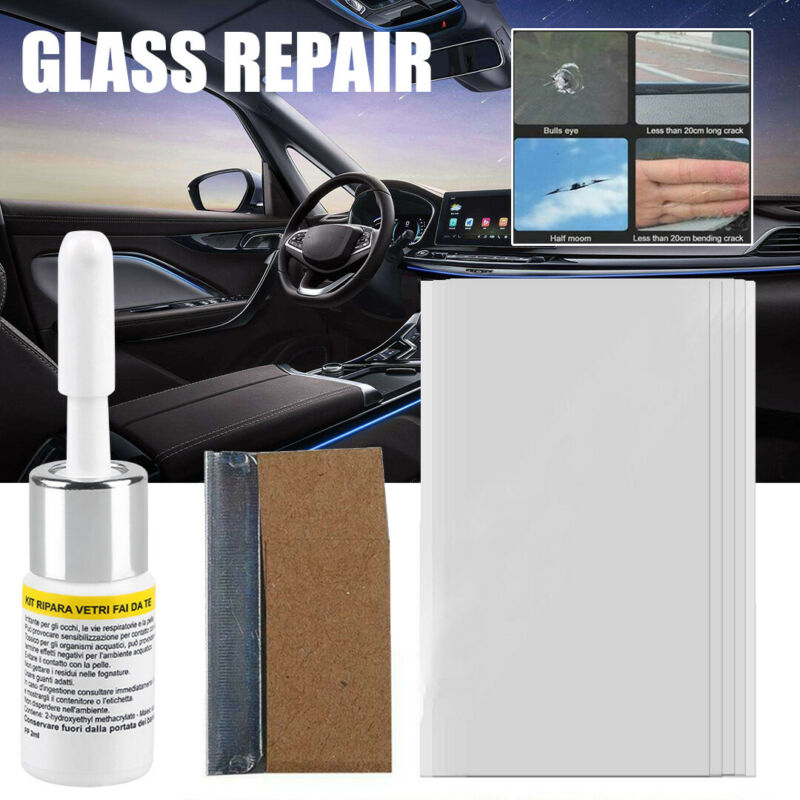
Widely Use - This windshield glass repair tools kit is suitable for repairs all types of laminated windscreen chips and cracks, such as bugs, cobwebs, bulls-eye, half-moon cracks , star-shaped damage and combination damage less than 1 in. (25 mm) in diameter.
Safe & Warranty - The windshield crack repair kit, All material without chemicals or toxic material. If there are any quality-related issues with the item, please feel free to contact us, we can provide technical support when you need.
Usage method:
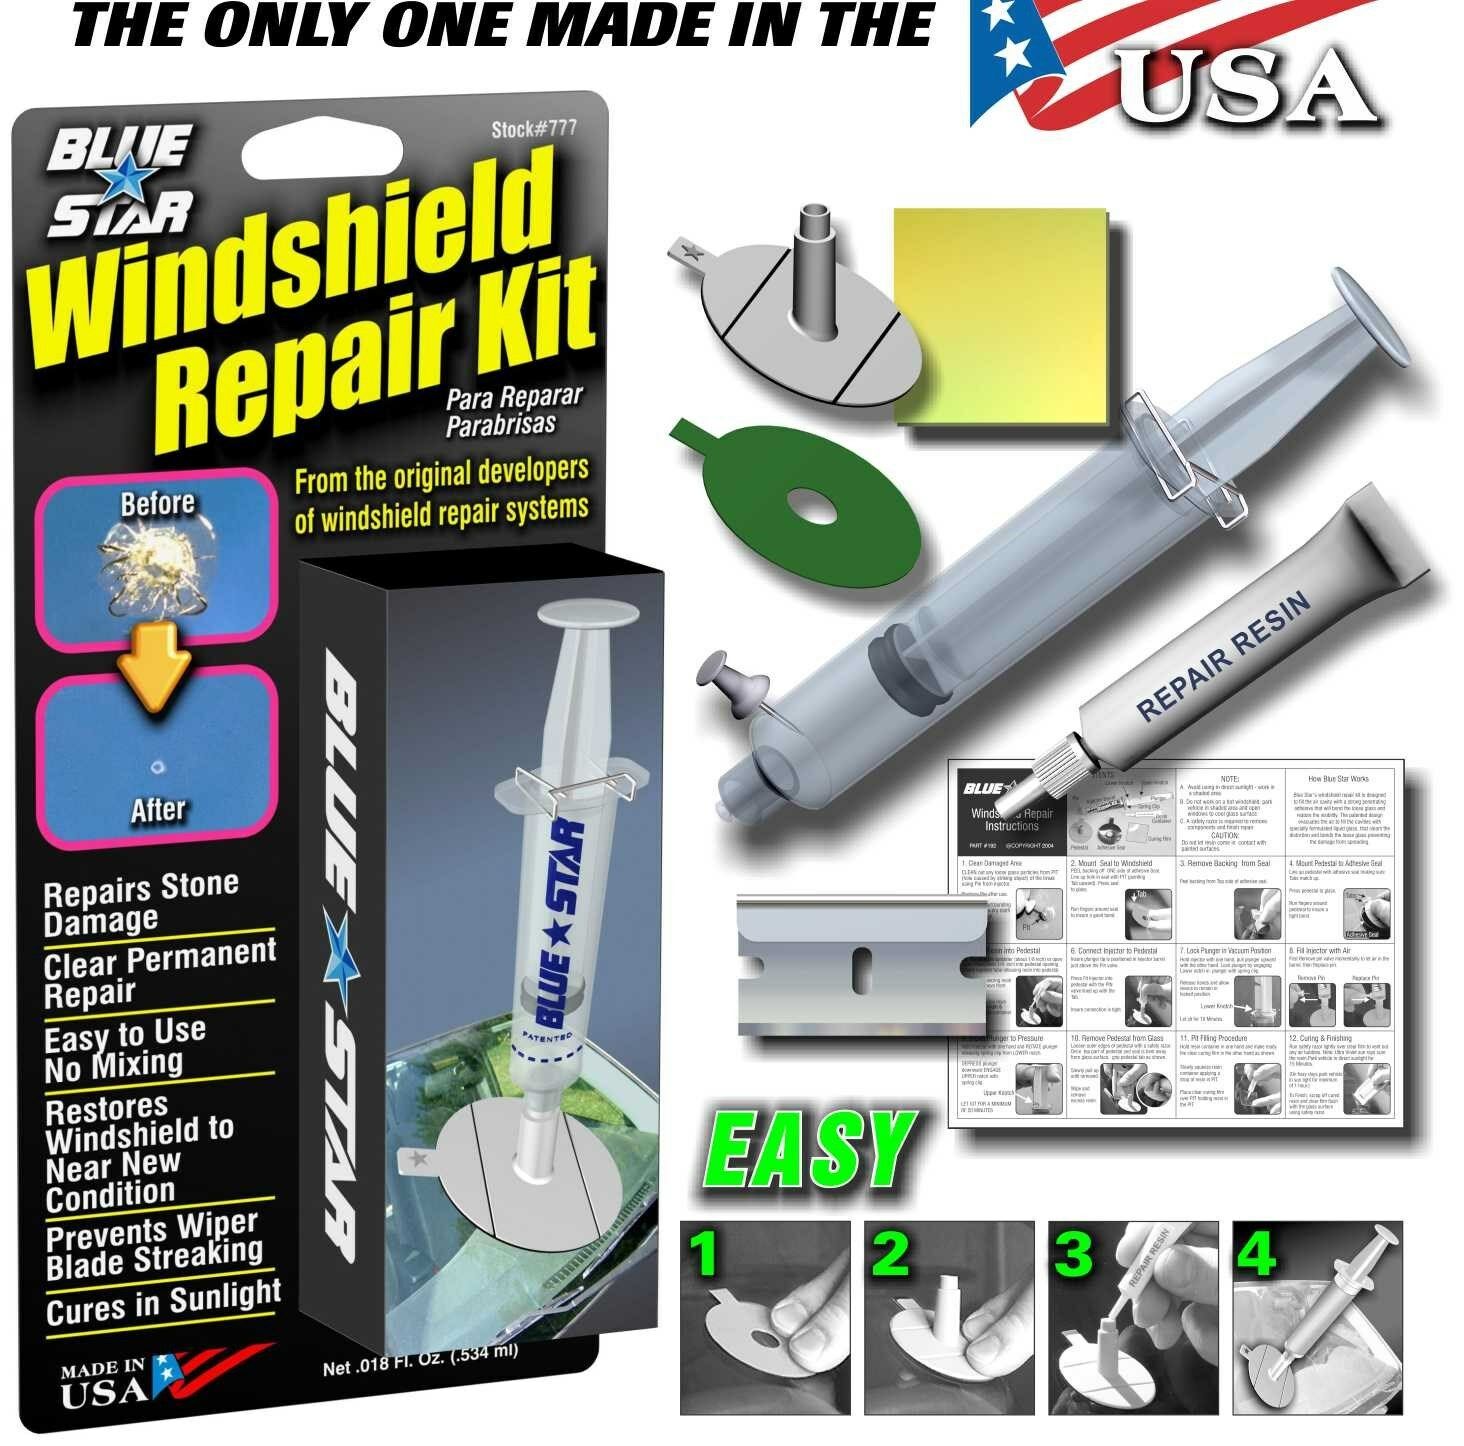
1. Place the suction cup bracket on the glass slope and align the center point with the center point of the glass crack.
2. Rotate the injection cylinder into the positioning bracket to make the top of the injection cylinder close to the glass.
3. Inject repair fluid into the injection tube, about 5-10 drops
4. Vacuum, insert needle barrel, pull up and clip at the next jack.
5. Pull the syringe out and insert it back into the syringe.
6. Pressure injection, press down the syringe push rod and stick it on the upper jack (hold for 10-15 minutes)
7. Remove the suction cup bracket and drop a bit of repair fluid at the crack position. Move the car to the sun for 20 minutes
8. Scrape the excess glue with a knife
Package content:
1. Pressure cylinder
2. Locator
3. Strip curing film
4. Suction cup*2
5. Square cured film
6. Round cured film
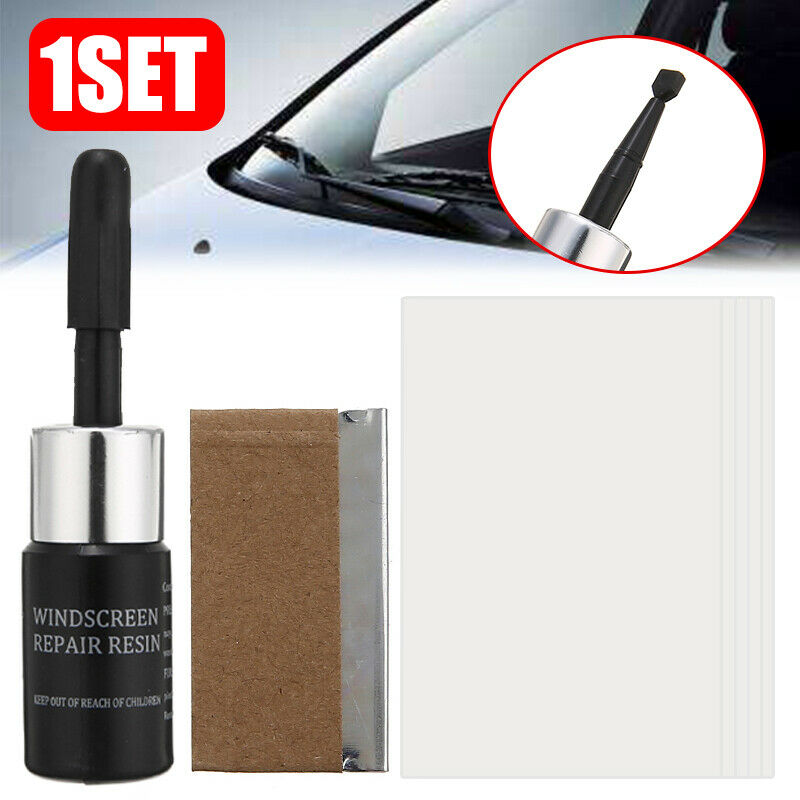
7. Repair fluid*2
8. Pick the needle
9. Blade
1. As soon as damage occurs, cover area with Transparent Tape to keep moisture and dirt from entering the damaged area.
2. The damage should be repaired as soon as possible to prevent small cracks from spreading.
Warning:
1. Caution: Contains mathacrylates.
2. Avoid contact with eyes, skin and clothing. Wash thoroughly after handling.
3.Eye or skin contact: Immediately flush with pienty of water. if irritation persists, get medical attention, remove contaminated clothing immediately.
4. Avoid using in direct sunlight-work in a shaded area.
5. Do not work on a hot windshield, park vehicle in shaded area and open windows to cool glass surface.
6. A safety razor is required to remove components and finish repair.
7. Do not let resin come in contact with painted surfaces.
Item Specifics
Type
Car Repair Kit
Brand
AUXITO
MPN
Does not apply
Country/Region of Manufacture
China
Features
Windscreen Repair Kit
Material
Plastics
Payment
We only accept PayPal payment, should be received within 3 days from the date of purchase.
Please keep the consistency of Paypal address and ebay address.
Payment should be made within 4 days once you won a item ,or ebay will launch Unpaid Reminder agaist you and there will be bad record on your ebay account .
Buyers are responsible for import duties, custom fees and taxes.Please check with your country's custom office to determine the additional costs before you finally make the purchase
Shipping
All items will be shipped in 48 hours after receiving your payment.
We ship this item to US only via USPS first class mail. It usually takes 3-6 working days to deliver.
Returns
We offer 30 days return policy. Please contact us within 30 days t from the date you receive your order if you have any issues with the product or want return .Refund will be send after we got your resend package.
All returned items should be in the original packaging, return tracking information should be provided ..
Buyer is responsible for return shipping cost due to the problem not caused by item quality itself.
Contact Us
Our office hours are MONDAY-FRIDAY 9:00PM-6:00PM PST, but we will response you once we get your message .There will be some delay on response if you send message or E-Mail on weekend.
FAQ
FAQ
Q1: Will this bulb fit my vehicle?
A: We can match almost any vehicle to one of our bulb sizes. eBay only lets us include partial vehicle fitments per listing, but if your vehicle does not show up on the compatibility table at the top of our listings, welcome you to contact us for free consulation before purchasing a product.
Q2: My item has not arrived, what's taking so long?
A: Sometimes items take longer than expected, especially if it's going far or to rural area. Check with your post office to see if your item has been held up. Sometimes USPS will not update a tracking number until it has arrived at its destination. If your item still has not arrived after a few days, let us know so we can double check for you and help solve it asap.
Q3: Do I need to mention the Year, Make and Model in the notes when place order?
A: YES. Please include the Year, Make, and Model in the notes section during checkout to ensure you receive everything needed for your kit!
Q4: My bulbs won't fit, help!
A: Special bulb holder may be required. See if you can take the holder from the stock bulb. If not, let us know.
The bulb size may be wrong, double check the item you received with the item you ordered.
Do you have an aftermarket lighting housing? These may not be perfectly fitted for aftermarket bulbs and will require some manual modifications.
Q5: Neither side lighting up? Both sides flicker, flash, or work inconsistantly.
A:Check the headlight fuses, and then check the ballast plugs to insure correct installation. If this doesn't work, there may be a voltage problem with the vehicle. You probably just need a relay or capacitor.
Q6: WARNING ABOUT POLARITY
Unlike halogen bulbs, LEDs are polarity sensitive.
BEFORE you start your LED kit installation, verify the polarity on your vehicle by simply plugging the LED bulb into your vehicle socket.
-if your light turns on, please proceed to install both bulbs onto your vehicle.
-if your light DOES NOT turn on, disconnect the bulb and flip the socket in order to reverse the polarity (this will not damage your vehicle electrical system in any way). Once you made sure the LED bulb turns on, please proceed to install both bulbs onto your vehicle.
Note: There is no convention when it comes to polarity. Different car manufactures have different polarity setup, even within the car model the polarity setup on your low beams and high beams might be different.
DESCRIPTION
PAYMENT
SHIPPING
RETURN POLICY
CONTACT US
OXILAM
Sale + Markdown
Shop Category
Store Home
LED Headlights
◈ 9005 HB3
◈ 9006 HB4
◈ 9007 HB5
◈ 9012 HIR2
◈ H4 9003 HB2
◈ H7
◈ H8 H11 H9
◈ H13 9008
◈ H1
LED Fog Lights
◈ 9005 HB3
◈ 9006 HB4
◈ H10
◈ H8 H11 H16
◈ PSX24W
LED Turn Signal Lights
◈ 7443 7440 7441 7444 T20
◈ 1156 P21W BA15S 1141 7506
Car Parts & Accessories
Motorcycle Parts & Accessories
T10 194 168 W5W
T15 921 912 W16W 904 906 916
Other
Hot Item
Carbon Fiber Protector Sill Scuff Cover Car Door Body Anti Scratch Strip Sticker
USD 8.99
4X Magnetic Car Side Window Sun Shade Cover Mesh Shield UV Protection Black Dark
USD 12.99
LED Side Rear View Mirror Puddle Light Bulb For Ford Expedition F150 Fusion Edge
USD 11.99
OXILAM Amber Yellow 7440 LED Front Turn Signal Light Bulbs No Hyper Flash Canbus
USD 18.99
Car Stainless Steel Exhaust Trim Tip Muffler Pipe Silver Chrome Tail Throat Pipe
USD 13.99
New List Item
3 Air Conditioning Control Panel Knob Button Switch 559050C010 for Toyota Tundra
USD 10.99
Master Window Switch Front Left Driver for Dodge Ram 1500 2500 3500 4602863AB
USD 23.59
Power Master Window Lock Switch For 2009-2012 Dodge Ram 1500 2500 3500 Quad Cab
USD 23.59
Driver Side 4 Door Power Master Window Switch for Dodge Ram 1500 2500 2009 -12
USD 23.99
Master Power Window Switch Driver Side For 2009-2012 Dodge Ram 1500 2500 3500 US
USD 23.89
Excellent Delivery
Automotive Glass Nano Repair Fluid Car Window Glass Crack Chip Repair Tool Kit
Fast Repair - The windshield repair kit can quickly and easily repair small cracks chips only in 20-30 minutes. prevents damage from spreading Restores windshield to near new condition. Long-lasting maintenance effect.
Easy to Operate - Windshield chip repair kit is easy to use, first, Clean and dry the windshield glass surface and then squeeze the resin into the cracks. then put on the cured film , then quickly dry and solidify under ultraviolet light 5-10 mins. It is to scrap+e off the residual resin with a spatula.
Prefect design - Professional quality Do-It-Yourself repair windshield cracks/chips. designed with a reinforced injection sealant dispensing head, Advanced resin formula, can produce a strong pressure. and it have vacuum function to quickly remove air from the crack. can helps you minimize the appearance to achieve better repair effects.
Widely Use - This windshield glass repair tools kit is suitable for repairs all types of laminated windscreen chips and cracks, such as bugs, cobwebs, bulls-eye, half-moon cracks , star-shaped damage and combination damage less than 1 in. (25 mm) in diameter.
Safe & Warranty - The windshield crack repair kit, All material without chemicals or toxic material. If there are any quality-related issues with the item, please feel free to contact us, we can provide technical support when you need.
Usage method:
1. Place the suction cup bracket on the glass slope and align the center point with the center point of the glass crack.
2. Rotate the injection cylinder into the positioning bracket to make the top of the injection cylinder close to the glass.
3. Inject repair fluid into the injection tube, about 5-10 drops
4. Vacuum, insert needle barrel, pull up and clip at the next jack.
5. Pull the syringe out and insert it back into the syringe.
6. Pressure injection, press down the syringe push rod and stick it on the upper jack (hold for 10-15 minutes)
7. Remove the suction cup bracket and drop a bit of repair fluid at the crack position. Move the car to the sun for 20 minutes
8. Scrape the excess glue with a knife
Package content:
1. Pressure cylinder
2. Locator
3. Strip curing film
4. Suction cup*2
5. Square cured film
6. Round cured film
7. Repair fluid*2
8. Pick the needle
9. Blade
1. As soon as damage occurs, cover area with Transparent Tape to keep moisture and dirt from entering the damaged area.
2. The damage should be repaired as soon as possible to prevent small cracks from spreading.
Warning:
1. Caution: Contains mathacrylates.
2. Avoid contact with eyes, skin and clothing. Wash thoroughly after handling.
3.Eye or skin contact: Immediately flush with pienty of water. if irritation persists, get medical attention, remove contaminated clothing immediately.
4. Avoid using in direct sunlight-work in a shaded area.
5. Do not work on a hot windshield, park vehicle in shaded area and open windows to cool glass surface.
6. A safety razor is required to remove components and finish repair.
7. Do not let resin come in contact with painted surfaces.
Payment
Shipping
Returns
Contact Us
FAQ
We only accept PayPal payment, should be received within 3 days from the date of purchase.
Please keep the consistency of Paypal address and ebay address.
Payment should be made within 4 days once you won a item ,or ebay will launch Unpaid Reminder agaist you and there will be bad record on your ebay account .
Buyers are responsible for import duties, custom fees and taxes.Please check with your country's custom office to determine the additional costs before you finally make the purchase
All items will be shipped in 48 hours after receiving your payment.
We ship this item to US only via USPS first class mail. It usually takes 3-6 working days to deliver.
We offer 30 days return policy. Please contact us within 30 days t from the date you receive your order if you have any issues with the product or want return .Refund will be send after we got your resend package.
All returned items should be in the original packaging, return tracking information should be provided ..
Buyer is responsible for return shipping cost due to the problem not caused by item quality itself.
Our office hours are MONDAY-FRIDAY 9:00PM-6:00PM PST, but we will response you once we get your message .There will be some delay on response if you send message or E-Mail on weekend.
FAQ
Q1: Will this bulb fit my vehicle?
A: We can match almost any vehicle to one of our bulb sizes. eBay only lets us include partial vehicle fitments per listing, but if your vehicle does not show up on the compatibility table at the top of our listings, welcome you to contact us for free consulation before purchasing a product.
Q2: My item has not arrived, what's taking so long?
A: Sometimes items take longer than expected, especially if it's going far or to rural area. Check with your post office to see if your item has been held up. Sometimes USPS will not update a tracking number until it has arrived at its destination. If your item still has not arrived after a few days, let us know so we can double check for you and help solve it asap.
Q3: Do I need to mention the Year, Make and Model in the notes when place order?
A: YES. Please include the Year, Make, and Model in the notes section during checkout to ensure you receive everything needed for your kit!
Q4: My bulbs won't fit, help!
A: Special bulb holder may be required. See if you can take the holder from the stock bulb. If not, let us know.
The bulb size may be wrong, double check the item you received with the item you ordered.
Do you have an aftermarket lighting housing? These may not be perfectly fitted for aftermarket bulbs and will require some manual modifications.
Q5: Neither side lighting up? Both sides flicker, flash, or work inconsistantly.
A:Check the headlight fuses, and then check the ballast plugs to insure correct installation. If this doesn't work, there may be a voltage problem with the vehicle. You probably just need a relay or capacitor.
Q6: WARNING ABOUT POLARITY
Unlike halogen bulbs, LEDs are polarity sensitive.
BEFORE you start your LED kit installation, verify the polarity on your vehicle by simply plugging the LED bulb into your vehicle socket.
-if your light turns on, please proceed to install both bulbs onto your vehicle.
-if your light DOES NOT turn on, disconnect the bulb and flip the socket in order to reverse the polarity (this will not damage your vehicle electrical system in any way). Once you made sure the LED bulb turns on, please proceed to install both bulbs onto your vehicle.
Note: There is no convention when it comes to polarity. Different car manufactures have different polarity setup, even within the car model the polarity setup on your low beams and high beams might be different.
All rights reserved.
On Sep-15-21 at 20:05:10 PDT, seller added the following information:


